
Let’s be honest—rental kitchens are a weird mix of potential and limitation. You’ve got the landlord’s dated backsplash, maybe some questionable cabinet hardware, and that one drawer that sticks no matter what. But here’s the thing: open shelving can be your secret weapon. It’s renter-friendly, totally removable, and honestly, it makes even the most boring kitchen look intentional. You don’t need to drill fifty holes or repaint anything. You just need a little strategy.
Now, I’m not talking about ripping out upper cabinets—that’s a security deposit nightmare. I’m talking about adding floating shelves (with the right brackets, of course) or even using freestanding shelving units that lean against the wall. The goal? Instant character, zero permanent damage. Let’s dive into how to style them so they look curated, not cluttered.
Why Open Shelving Works in Rentals (Even When You’re Nervous)
Rental kitchens often have that “builder-grade” vibe—you know, the one that screams temporary. Open shelving breaks that up. It adds warmth, depth, and a sense of personal style that landlords can’t take away from you. Plus, it forces you to edit. You can’t hide a pile of mismatched Tupperware behind closed doors anymore. That’s actually a good thing, trust me.
But here’s the catch—rental rules. Before you buy anything, check your lease. Some landlords allow wall anchors if you patch and paint before moving out. Others? Not so much. If you’re in the “no drilling” camp, don’t sweat it. Freestanding ladder shelves, utility carts, or even a sturdy wooden crate stack can mimic the look without a single screw.
The “Three-Object Rule” is Your Friend
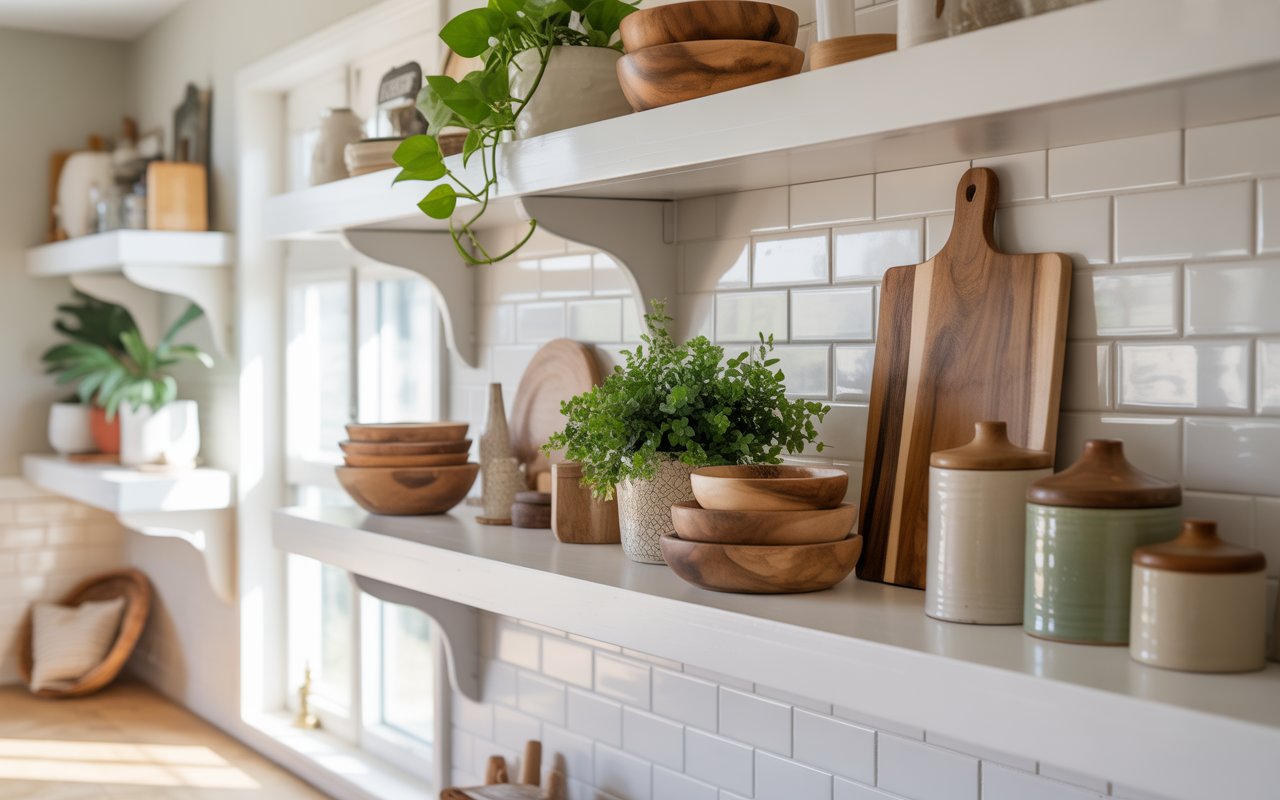
When you’re styling a shelf, resist the urge to fill every inch. Honestly, negative space is your best friend here. A good rule of thumb? Group items in threes. A stack of plates, a small plant, and a ceramic jar. That’s it. It sounds simple, but it works because your eye needs somewhere to rest. If every shelf is packed, the whole kitchen feels chaotic—and not in a cute, bohemian way.
Mix heights too. A tall vase next to a short stack of bowls? Perfect. Two identical candles side by side? Eh, that’s a bit stiff. You want a little rhythm, like a song that’s got a beat but also some unexpected pauses.
Styling for Function: What Actually Goes on the Shelves
Sure, open shelves look pretty, but they’re also practical. In a rental, you’re probably short on cabinet space anyway. So let’s talk about what earns a spot on your display.
- Everyday dishes—stack them neatly. White or cream plates are a safe bet, but if you’ve got a colorful set, that’s even better. It becomes the focal point.
- Glassware—mix heights and shapes. A few wine glasses, a couple of mason jars, maybe a vintage find from a thrift store.
- Cookbooks—stand them upright or stack them flat. They add color and texture, plus they’re a great conversation starter.
- Baskets—use these for hiding smaller items like coffee pods, tea bags, or napkins. Baskets are the unsung heroes of open shelving.
- Plants—real or faux, doesn’t matter. Greenery softens the hard lines of shelves and adds life.
One thing I’ve learned? Don’t put things you use daily on the highest shelf. You’ll hate yourself every morning when you’re stretching for your coffee mug. Keep the top shelf for decor, the middle for everyday items, and the bottom for heavier stuff like mixing bowls or a stand mixer.
Color Palette: Less is More (But Not Boring)
Here’s the deal—rental kitchens often have a fixed color scheme, usually beige or gray. You can’t change the walls, but you can control what’s on your shelves. Stick to a cohesive palette. Maybe it’s warm neutrals—cream, terracotta, olive. Or maybe you’re into a black-and-white theme with a pop of brass. Whatever you choose, keep it consistent across all shelves. That doesn’t mean everything matches perfectly—that’d be sterile. It just means there’s a thread that ties it all together.
For example, I had a rental with a hideous almond-colored backsplash. I styled my shelves with only matte black and natural wood tones. It didn’t fight the backsplash; it just made it less noticeable. Sneaky, right?
Renter-Friendly Hacks for Installing Shelves
Okay, so you’ve decided you want actual floating shelves. Good for you. But let’s talk about doing it without losing your deposit.
First, use command strips—but only for lightweight shelves. There are heavy-duty ones that hold up to 7 pounds, which is fine for a few small items. But honestly, for real dishes and books, you need a bracket system. The trick? Use a stud finder and anchor into the wall studs. Then, when you move out, patch the holes with spackle and touch up the paint. It’s a 20-minute job, and it’s totally worth it.
Another hack? Use tension rod shelving inside a cabinet or even in a small nook. It’s not exactly open shelving, but it gives you that airy feel without any holes. Or try a kitchen cart with shelves—it’s movable, functional, and adds counter space. I’ve seen people style these with a cutting board leaning against the back and a few spice jars. Looks like a magazine spread, I swear.
Styling Mistakes That Scream “Renter” (And How to Fix Them)
We’ve all seen those Pinterest fails, right? Open shelves that look like a chaotic garage sale. Let’s avoid that. Here are the biggest mistakes I see—and I’ve made a few myself, so this is from experience.
- Too many tiny objects. A dozen little knickknacks just looks like dust collectors. Group small items on a tray or in a small bowl to give them weight.
- Everything at the same height. Boring. Vary it up—tall canisters, short stacks, something leaning against the wall.
- Ignoring the back of the shelf. The wall behind your items is prime real estate. Lean a large cutting board or a piece of art against it. Adds instant depth.
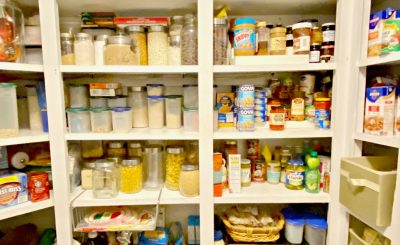
- Forgetting about negative space. You don’t need to fill every square inch. Empty space makes the items you do have look more valuable.
Here’s a quick visual guide for a balanced shelf layout—think of it as a formula:
| Shelf Section | What to Place | Example |
|---|---|---|
| Left | Tall item | Vase or tall bottle |
| Center | Mid-height stack | Stack of plates or books |
| Right | Short & organic | Small plant or bowl |
That’s the basic rhythm. You can repeat it across multiple shelves, but switch up the items so it doesn’t look copied.
Seasonal Swaps and Personal Touches
One of the best parts about open shelving? It’s never permanent. You can change it with the seasons, or just when you get bored. In the summer, swap in lighter linens and fresh herbs. In the winter, add a chunky knit runner and a few pinecones in a glass jar. It’s like a mini makeover for your kitchen without spending a dime.
And don’t forget personal touches. A framed photo of your dog, a souvenir from a trip, a weird ceramic mug your friend made—these make the space feel yours, not just a showroom. That’s the whole point of styling a rental, right? You’re saying, “This is my home, even if I don’t own the walls.”
Lighting Makes Everything Better
You can style your shelves perfectly, but if the lighting is dim, it’s all for nothing. Rentals usually have one overhead fixture that’s harsh and unflattering. Solution? Add a small battery-operated LED puck light under a shelf, or place a small table lamp on the counter nearby. Warm light (2700K-3000K) makes everything look softer and more inviting. It’s a cheap fix that changes the whole vibe.
Also, consider the reflection. If your shelves are near a window, position your shiny items (glassware, metallic bowls) to catch the light. It’s like free sparkle.
Mixing Open Shelving with Closed Storage
You don’t have to go all-in on open shelving. In fact, the best rental kitchens mix both. Use your closed cabinets for the ugly stuff—pots with scratched lids, plastic containers, that random bag of chips. Use open shelves for the pretty stuff you use daily. This balance keeps the kitchen feeling airy but also functional. You’re not hiding everything, but you’re not showing everything either.
Think of it like a wardrobe. You don’t wear all your clothes at once; you pick the best pieces for display. Same with your kitchen gear.
When in Doubt, Edit. Then Edit Again.
Here’s the thing—styling is a process. You’ll put everything up, step back, and think, “Hmm, that’s too much.” That’s normal. Remove one or two items. Step back again. Repeat until it feels right. It’s like cooking—you taste as you go, you don’t just dump all the spices in at once.
And if you’re feeling stuck, take a photo of your shelf. Looking at a flat image helps you see imbalances that your eye might miss in person. Crop it, zoom in, and you’ll spot the problem immediately.
Final Thoughts: Make It Yours, Not Perfect
At the end of the day, open shelving in a rental kitchen