
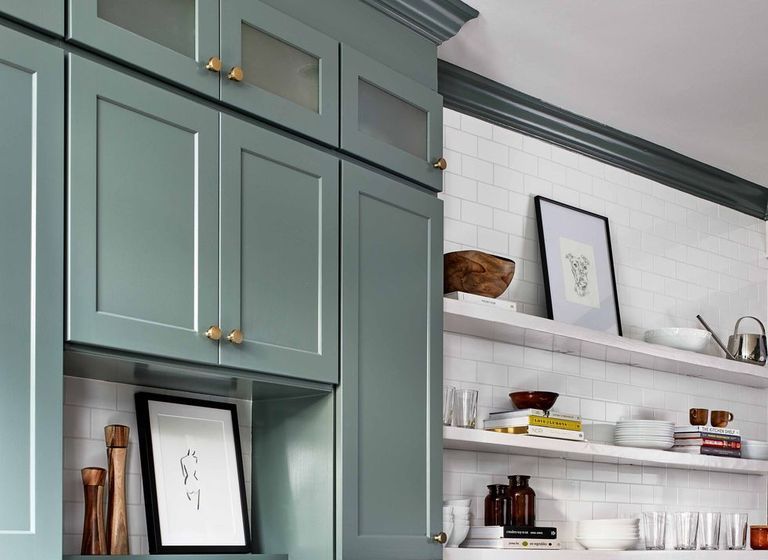
Cabinet painting may seem daunting at first, but it doesn’t need to be impossible. To ensure success, select durable paints and work in a well-ventilated environment.
Plan ahead by labelling each door and hardware piece that you unbolt – this will make reattachment much simpler later on.
1. Remove the Cabinet Doors
Painting cabinetry often depends on two elements: quality of paint and skill in application. An inexperienced homeowner using cheap paint from a big box store may achieve less-than-desirable results, whereas professionals armed with high-grade materials may create stunning transformations.
At times, rollers may not be your best solution; natural-bristle brushes may work better for flat surfaces than rollers; a three-to-four inch square brush works great, while two inch wide angled brushes allow for greater precision when working around corners and details.
If you choose a roller, apply an oil-based stain-blocking bonding primer first; this will protect against dark or stained areas showing through. When working with latex paint, using a foam roller will leave an uninterrupted finish without visible brush marks that traditional brushes often leave behind.
2. Prep the Surface
If you’re repainting cabinets, select a durable finish that can withstand wear and tear while remaining wipeable. A water-based oil or latex paint would work better for this application than matte or eggshell options.
Before beginning painting, ensure all surfaces are cleaned using a grease-cutting cleaner and rinse and dry them completely. A sanding sponge works well on flat areas while pad sanders work better for corners or molded edges.
Even light sanding will leave behind dusty residue. Vacuuming may remove some, but experts say tack cloth works much better to pick up dust that remains. Simply unfold and bunch loosely then lightly sweep across surfaces until all dust particles have been picked up by it.
An important step to ensure a flawless new finish is using a primer tinted in the same hue as your final top coat is using one that matches it exactly, to prevent dark or stained areas from showing through the new finish.
3. Prime the Cabinets
Priming cabinets before applying their first coat of paint is key for success, using high-quality oil-based primer. For best results when painting over existing painted finishes that have already been primed with smooth surface paints, lightly sand the existing surface using 120-grit sandpaper before priming to ensure maximum adhesion of new primer.
Choose an eco-friendly oil-based primer such as Kilz Restoration that features low VOC emission levels and has heavy stain-blocking properties; conceals water damage, tannins, nicotine odor and more with ease.
If your cabinets are made from an open-pore material like oak, such as spackling is necessary before priming and painting. Or alternatively you could apply several coats of high-build primer and sand between each application until all pores have been filled in; or use hybrid acrylic urethane primer which makes work easy while being easy on cleanup time.
4. Paint the Cabinets
Cabinet painting can be an intimidating project, requiring plenty of patience and planning ahead. But with an experienced DIYer and realistic expectations in place, this task should not be daunting.
Before beginning, use a damp cloth to wipe down cabinets to eliminate dust and grease build-up. For optimal results, consider using a spray gun rather than brushing to apply paint – for an effortless finish!
Choose high-impact oil or latex paint that’s durable enough to withstand moisture, while being easy to clean and stain resistant. Matte and eggshell finishes may be harder to wipe clean, exposing fingerprints more clearly, while more shiny finishes hide nicks and scratches better than matte or eggshell options.
5. Finish the Cabinets
If you choose to paint your cabinets yourself, use a respirator mask and open windows to avoid breathing in fumes from oil-based primer. Or alternatively use latex primer that has low or no VOC emissions such as moisture- and stain-resistant latex versions available with reduced VOCs emissions.
After applying two coats of primer, lightly sand the cabinet surfaces so the next layer of paint adheres better. This will produce a rough surface to which additional coats will adhere better.
Some may skip this step, but it’s essential for an even and flawless paint job. Additionally, allow both primer and paint to fully dry for at least five days before using your kitchen again – something some skip altogether!